Lets go Inside | The walls
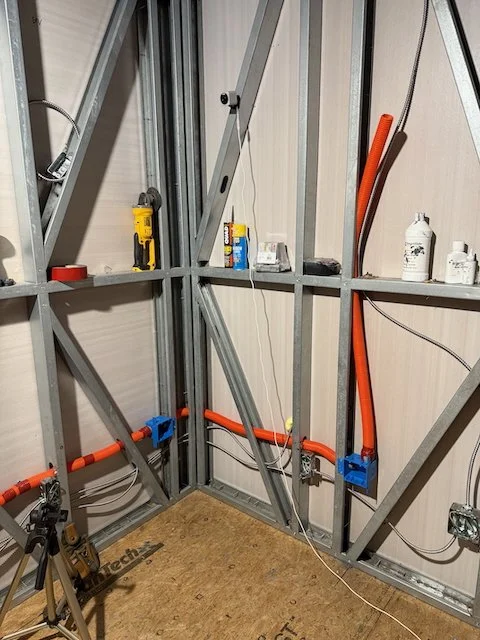
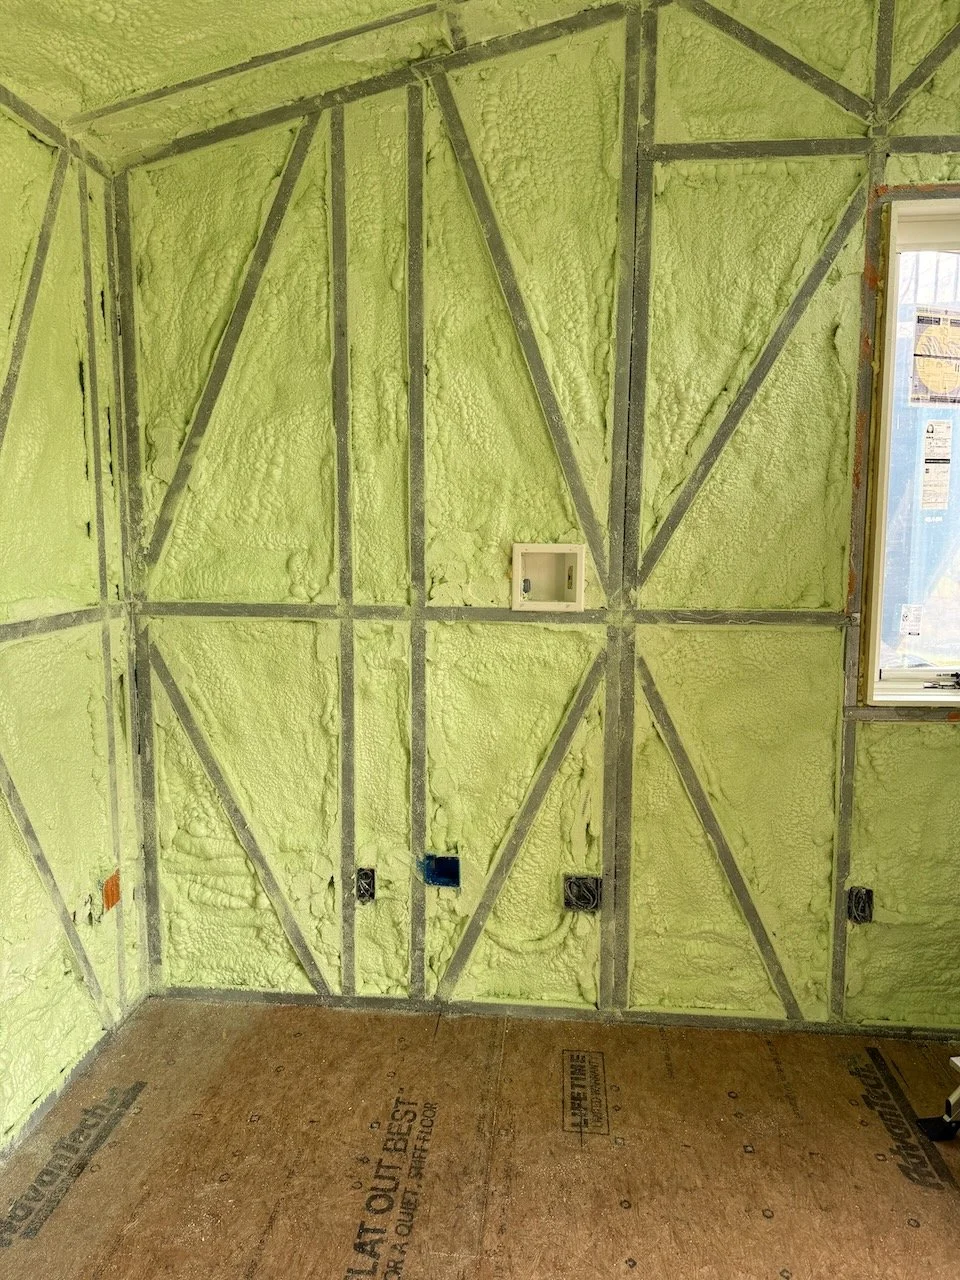
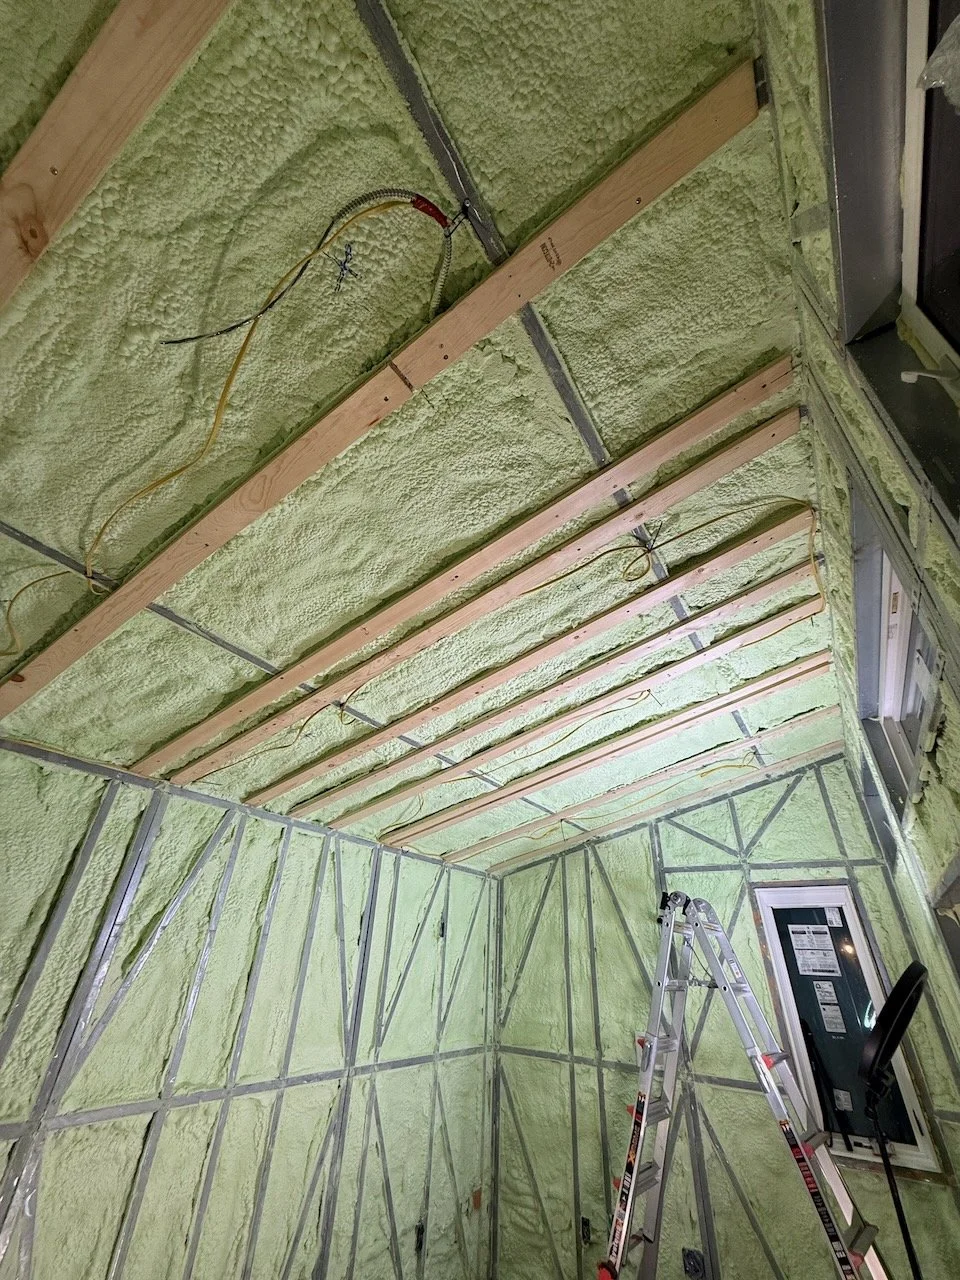
It’s finally time to head inside the Office Shed! Over the past few weeks, we’ve tackled several key steps to bring this space closer to its final form. First up was running both electrical and the low-voltage conduit throughout the shed. This is always an exciting phase because it lays the groundwork for all the creature comforts — lighting, outlets, hardwired internet, and more. Careful planning was essential, ensuring power is delivered not just where it’s needed today, but where it might be helpful down the line. With computers, a mini-split, and plenty of other gear on the horizon, we made sure to run plenty of dedicated circuits and conduit for easy future line pulls.
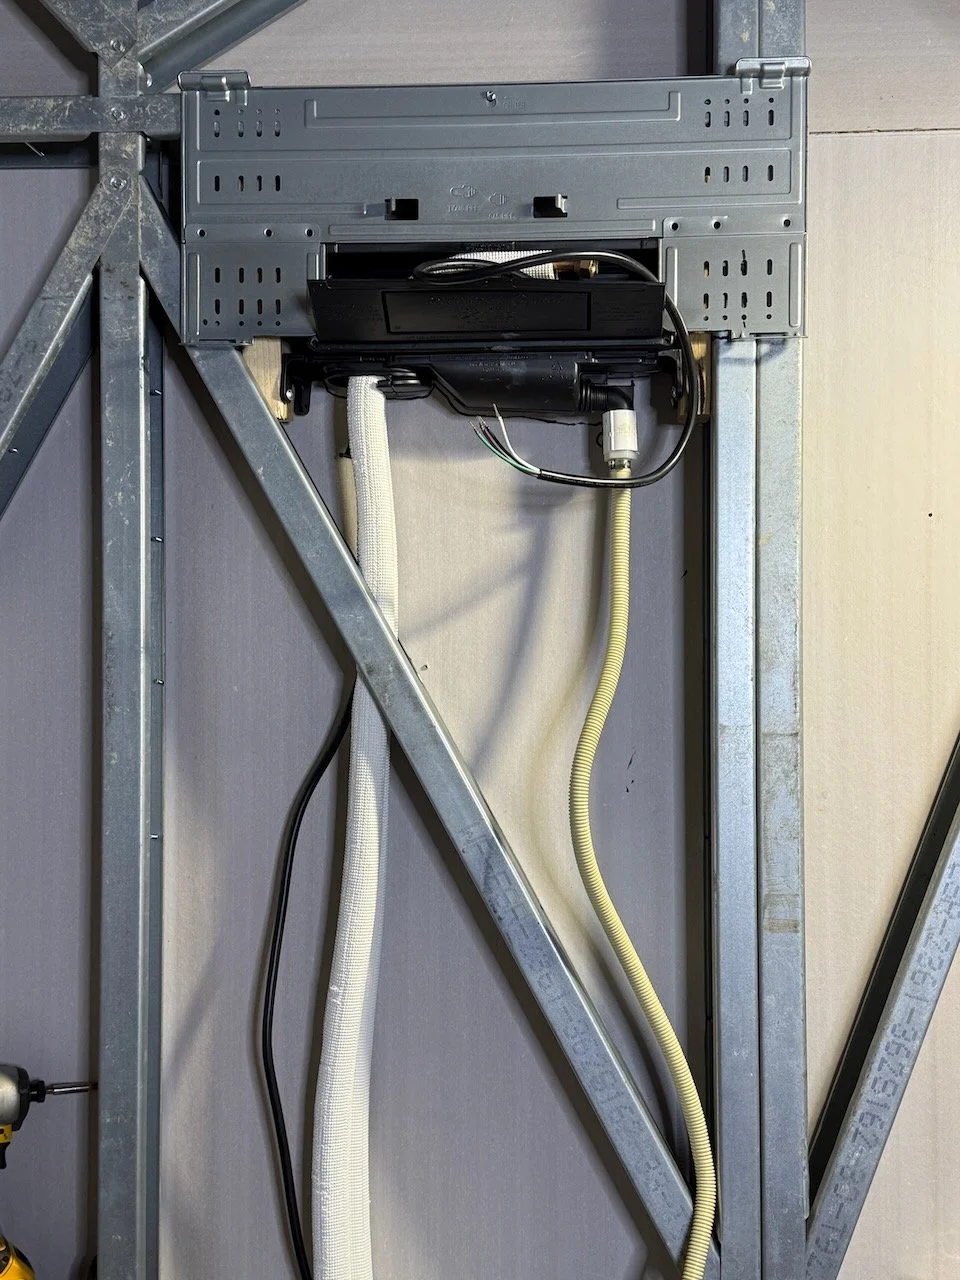
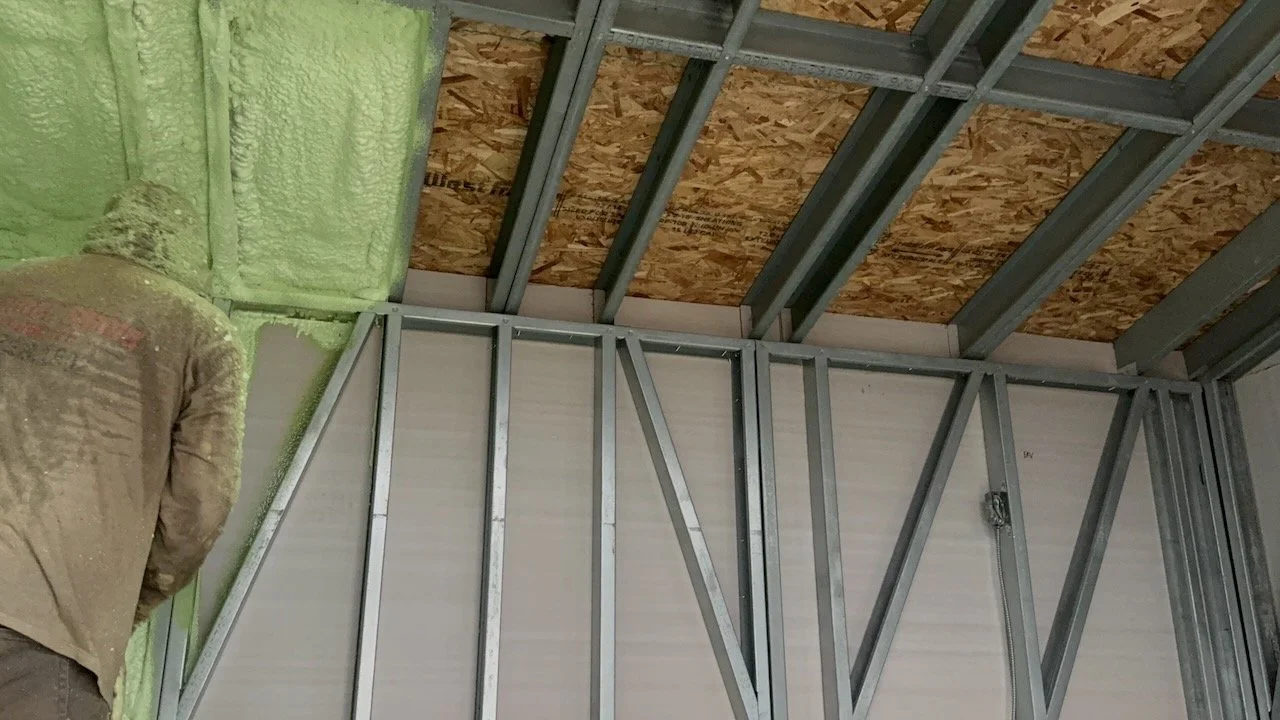
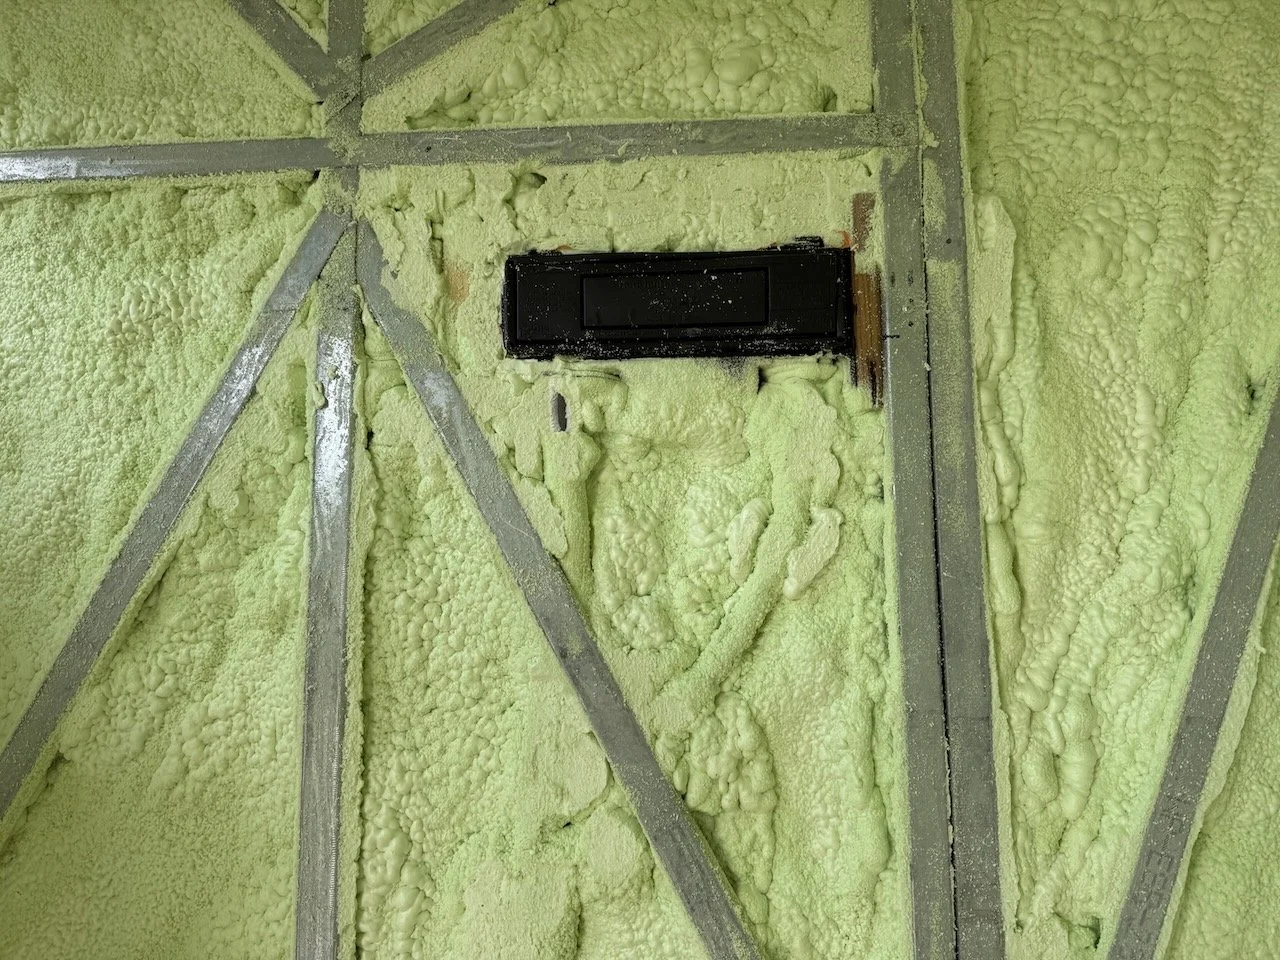
Next, we installed the mini-split’s breakout box, which acts as the heart of the heating and cooling system. This step really marked the transition from a shell of a structure to a space with real potential for comfort year-round. Once that was in place, it was time for spray foam insulation — one of the most transformative moments in any build like this. We went with closed-cell spray foam to ensure maximum R-value and to fully seal the building envelope. Air Tight Spray Foam did a great job! At this point things are taking shape fast.
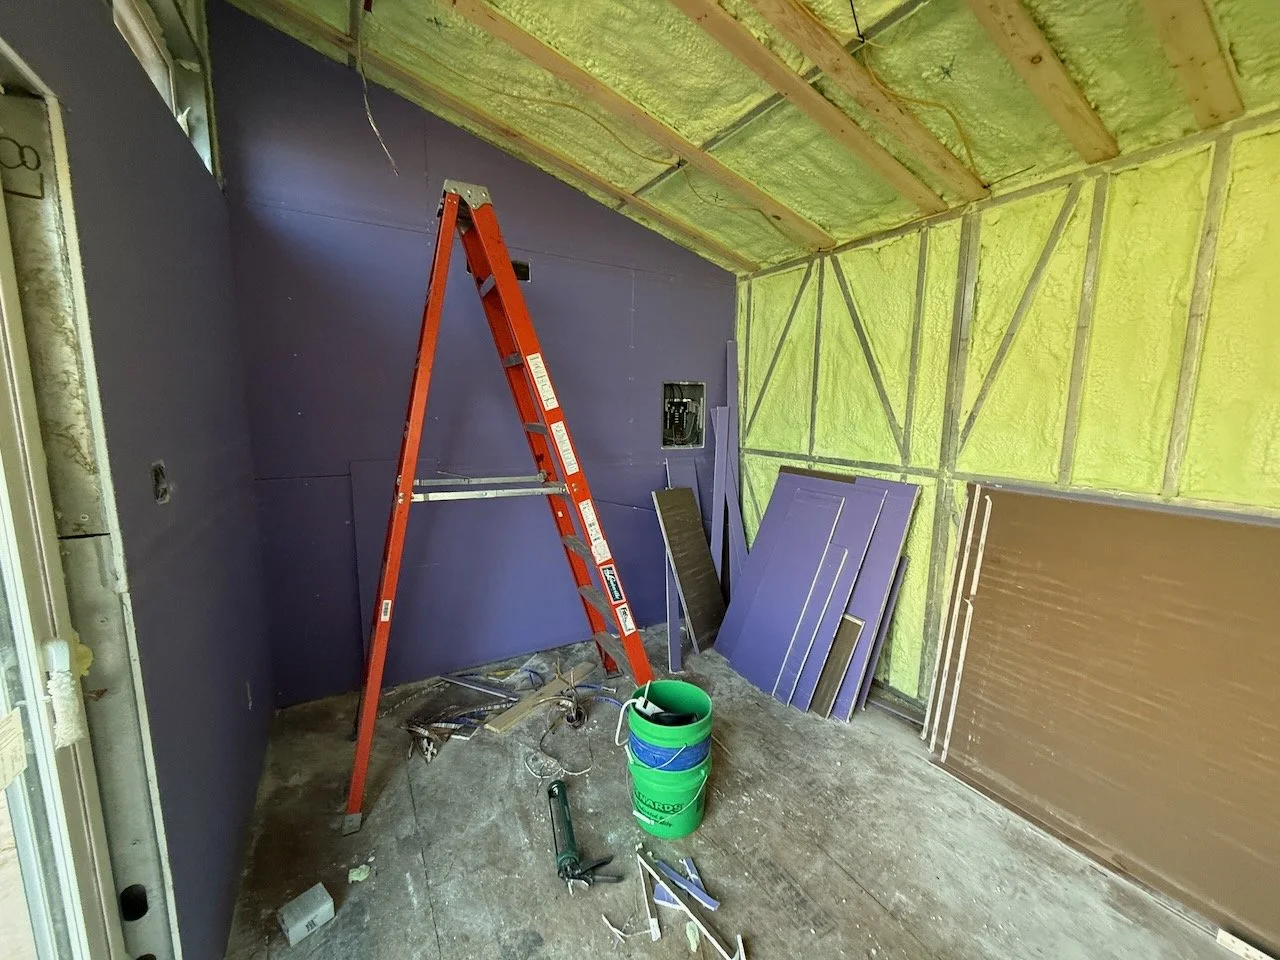
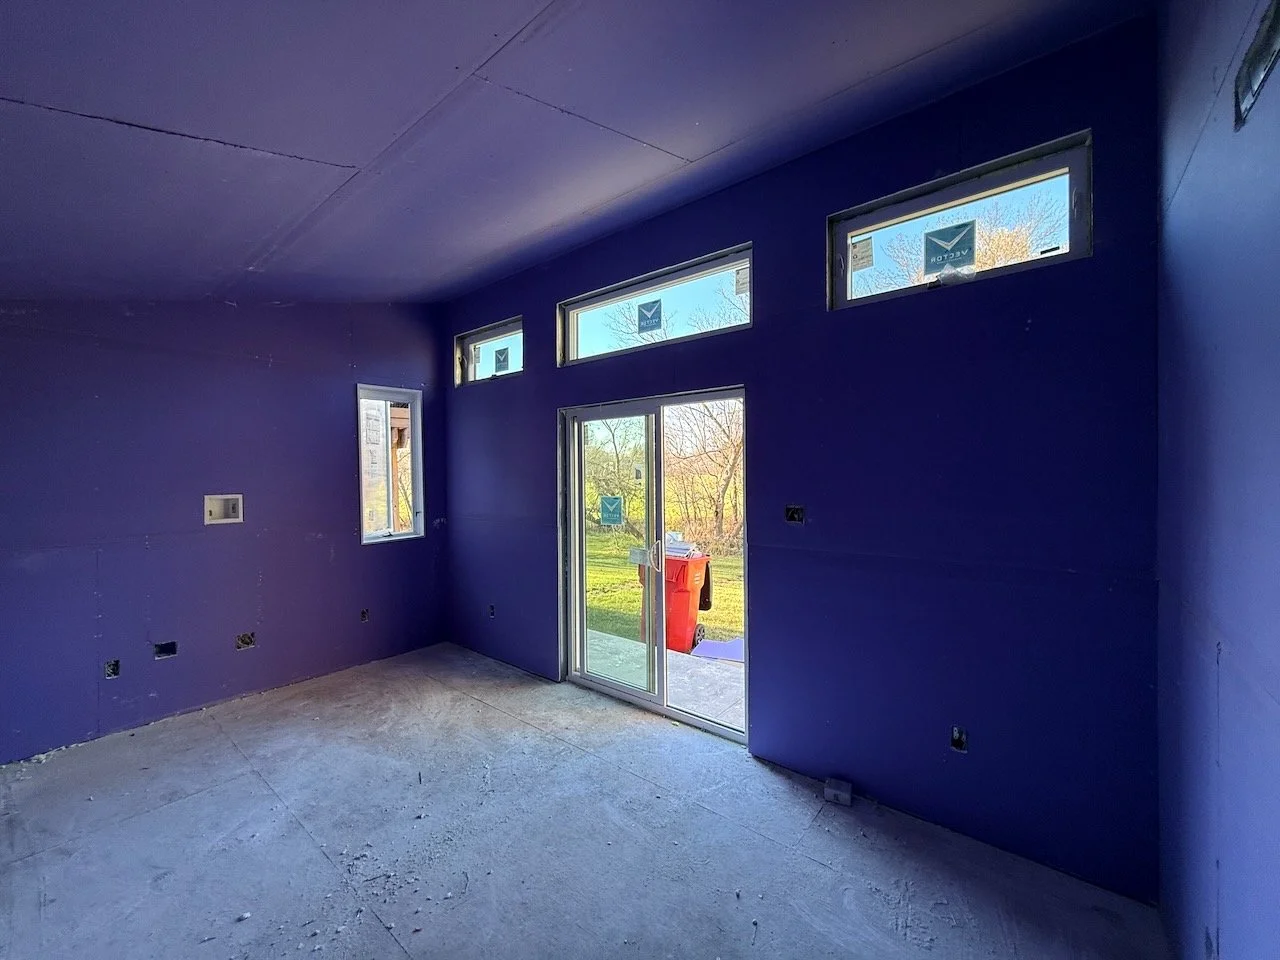
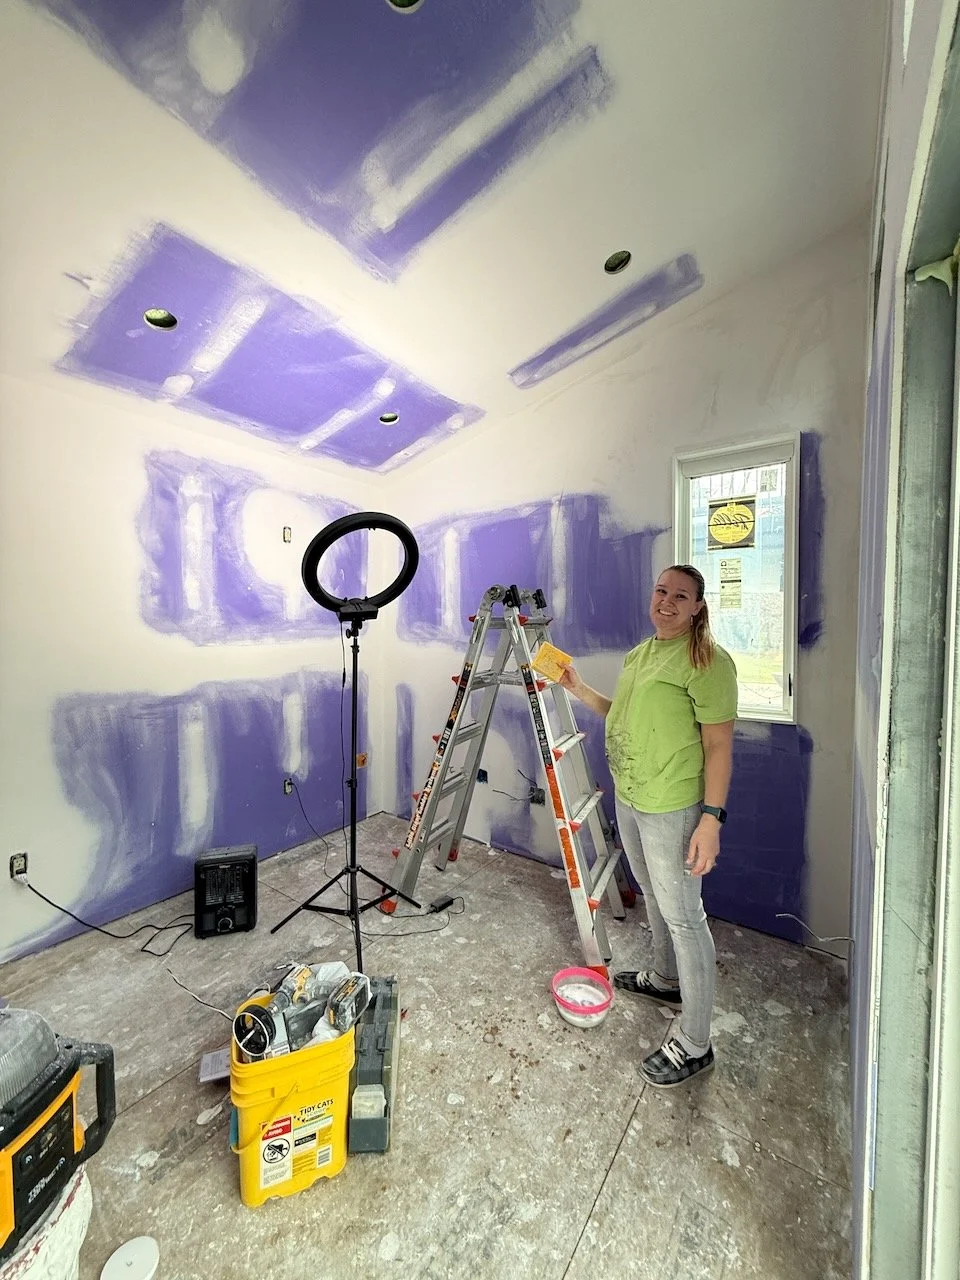
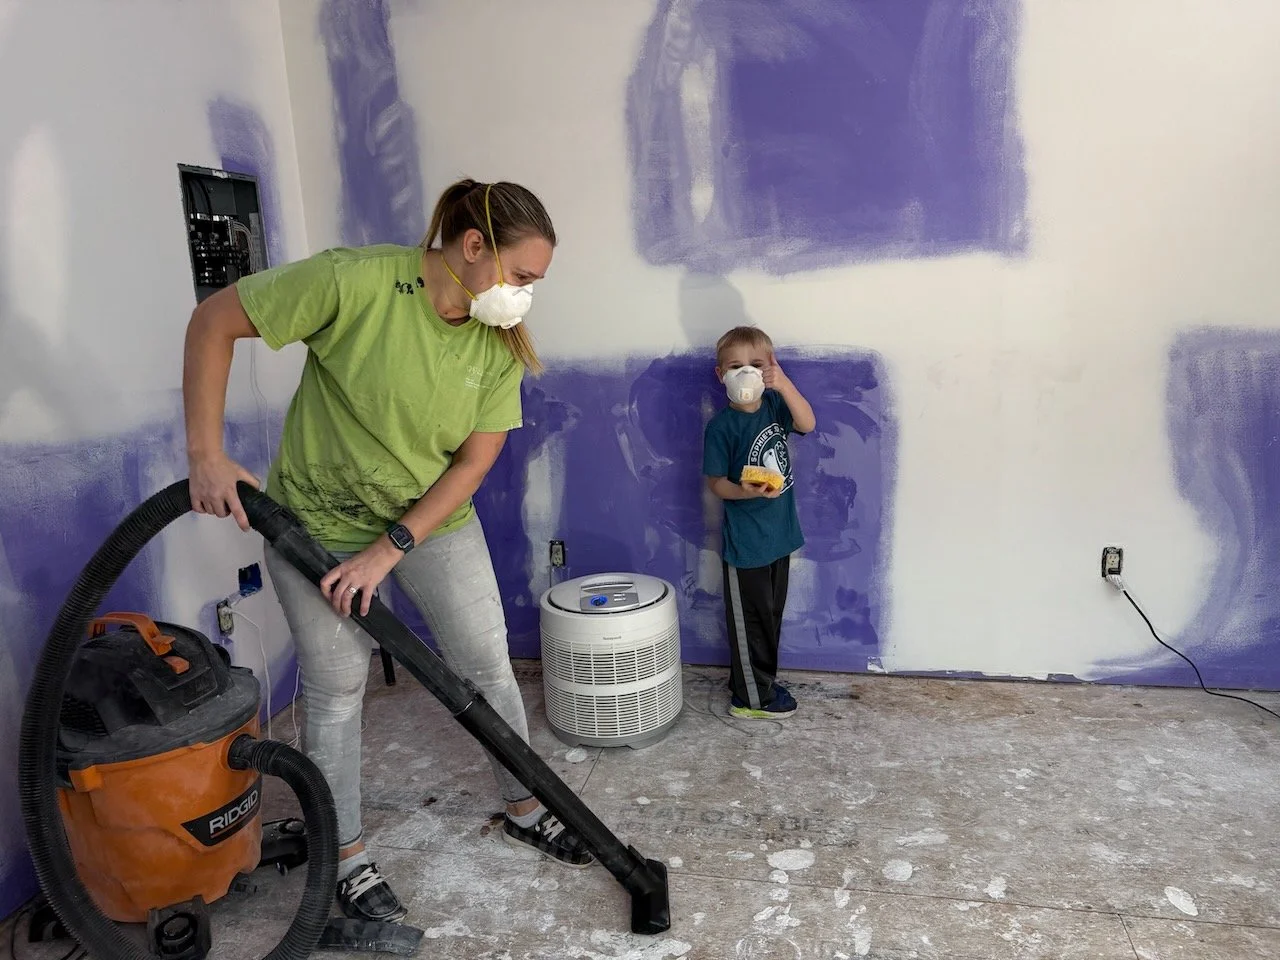
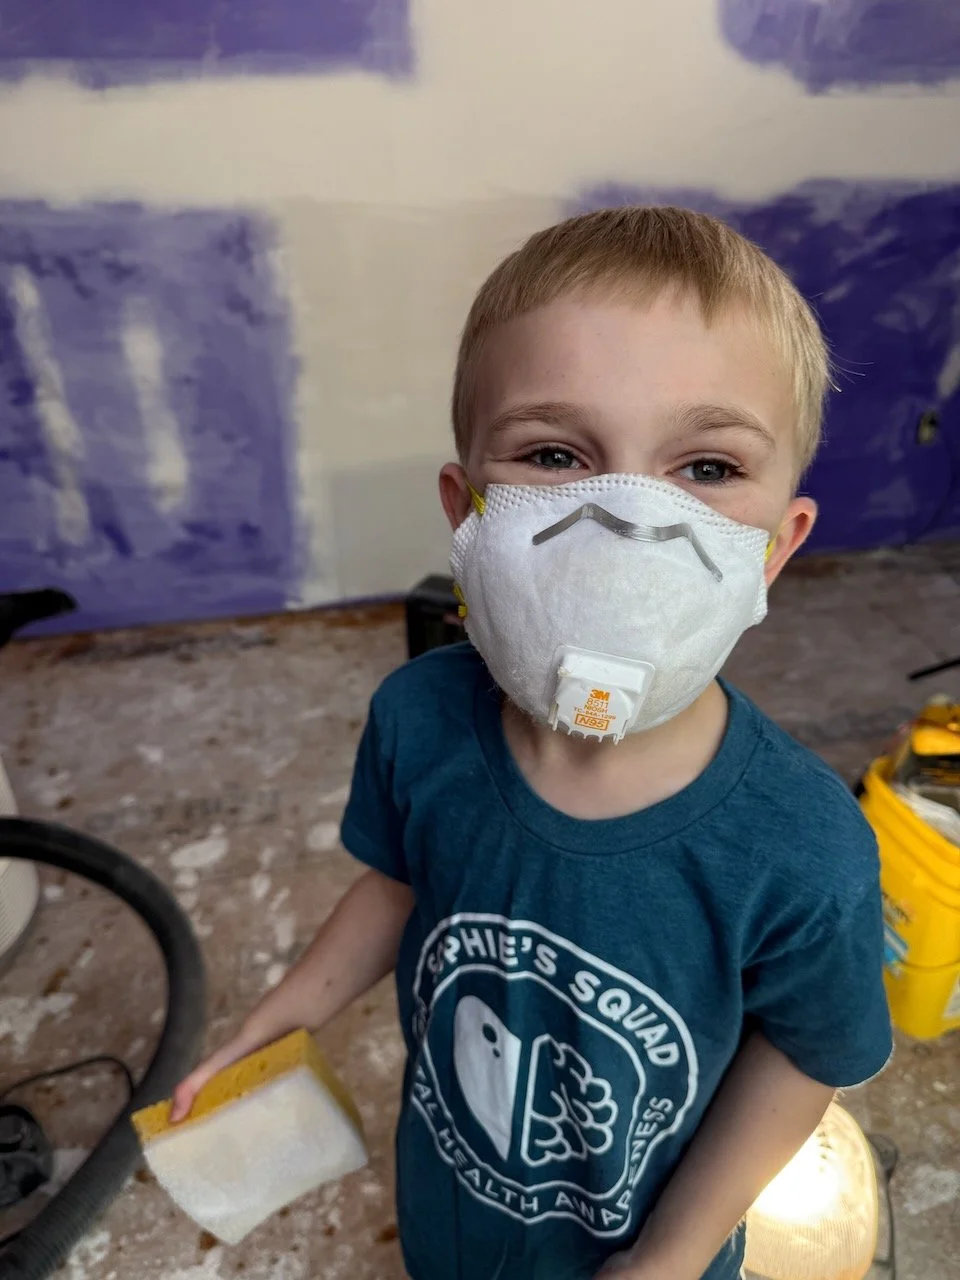
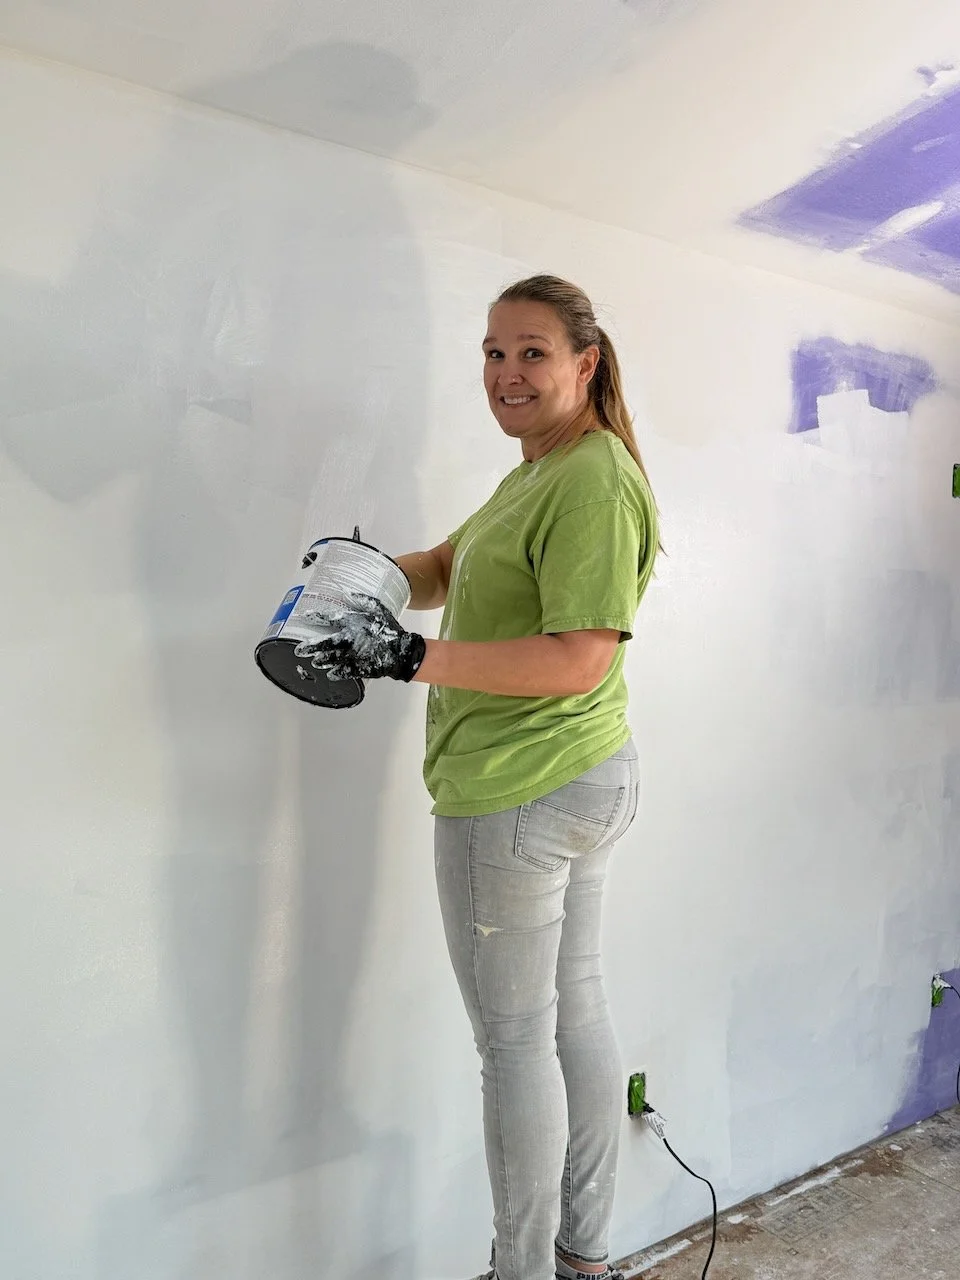
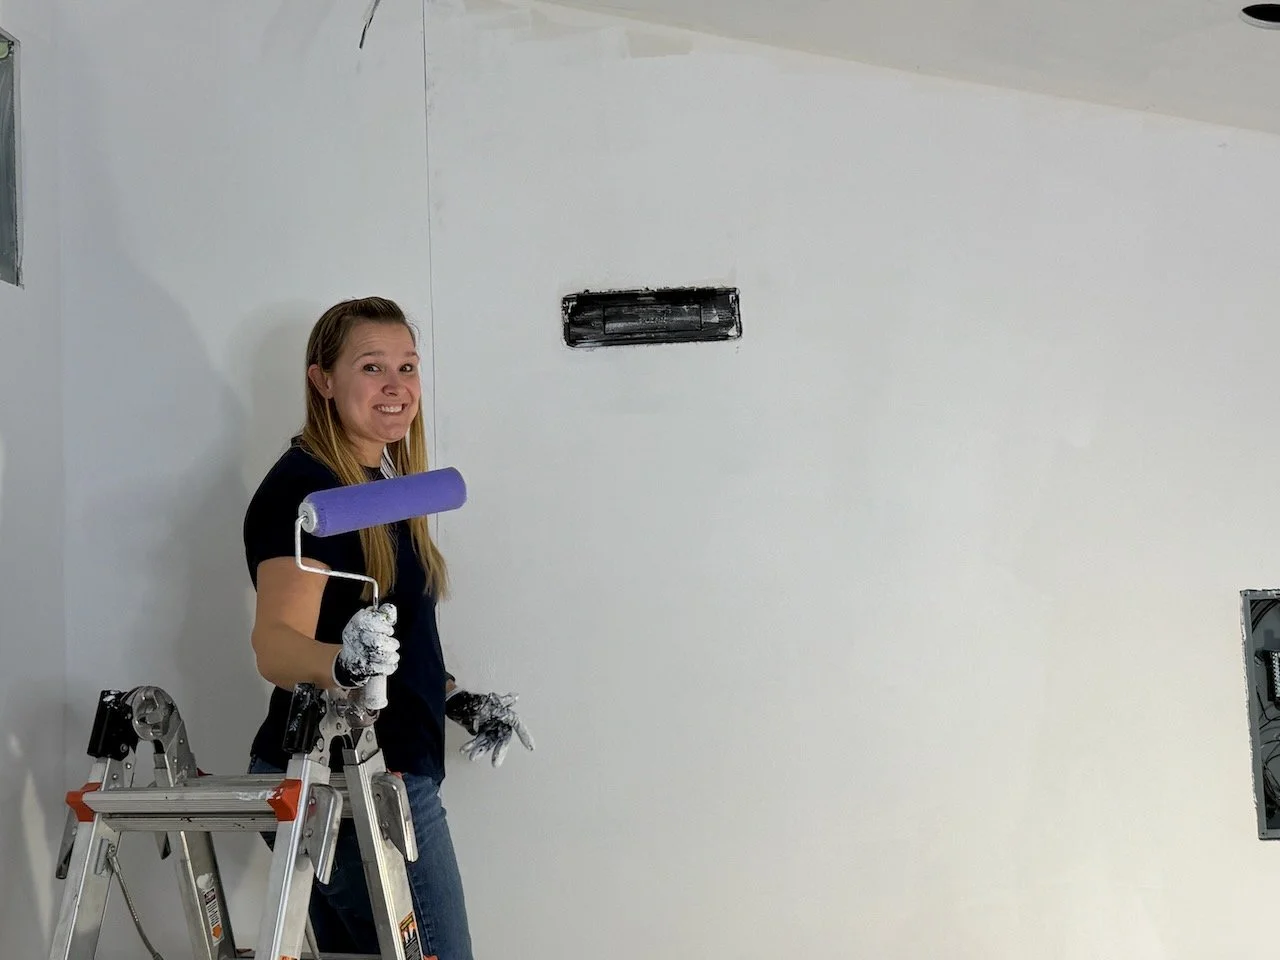
With insulation completed, it was time for drywall. While hanging drywall might not be the most glamorous task, it’s the moment the space really starts to look like a room. After a few days of cutting, hanging, mudding, and sanding, the walls were ready! A little child labor, and a wife who was sick of all my nights and weekends being taken up got things all primed and painted. Next up is something special. Instead of simply painting and, we decided to “Putting the Studio in Studio Office.” Stay tuned for what’s next!


